Free & Easy Portfolio Launch: Customize and Host with GitHub and Netlify
click here to read this in medium
Introduction :
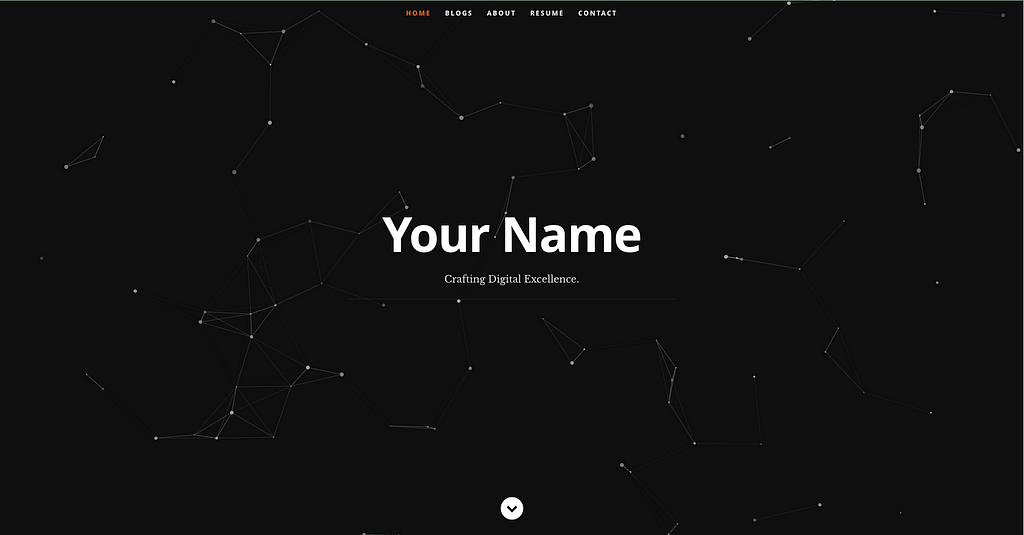
Discover the simplest way to put your talents on display — for free! This guide is your key to creating an attractive portfolio by customizing a GitHub repository and hosting it on Netlify, without spending a penny. Ideal for anyone looking to establish a professional online presence without the complexities of coding or software installation.
Section 1:Preparing Your Environment
Requirements: All you need is a GitHub account and a zest for creativity! This process requires no financial investment or advanced technical skills.
Overview of Tools Used: We’ll be using GitHub for your codebase and Netlify for web hosting — both available at no cost.

Section 2: Forking the GitHub Repository
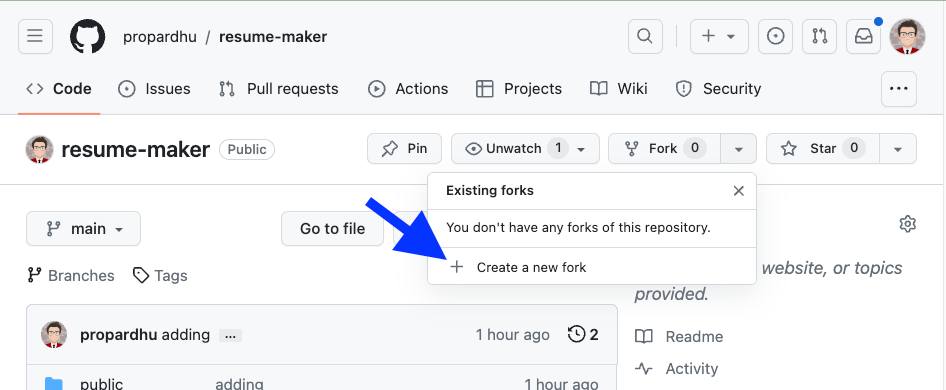
Step-by-Step Guide to Forking: Select the GitHub repository you want and simply click the ‘Fork’ button, creating a free copy for your use.
Open the given github repo → https://github.com/propardhu/resume-maker
Section 3: Customizing Your Portfolio
Navigating to the JSON File: In your new repository, locate the JSON file. This is where you’ll make your portfolio come to life.
👇Go to the resumeData.json in pulic folder → public/resumeData.json

Editing the JSON File Online: GitHub allows you to edit this file directly on their platform. Click to edit, and start personalizing with your details. It’s free and straightforward.
Start by modifying the default content to reflect your own profile. For a more efficient and user-friendly editing experience, consider copying the content into an online JSON editor. This approach allows for quicker and more precise adjustments tailored to your needs.
👆 The links provided above offer a selection of diverse background options for your name, allowing you to choose the one that best suits your style.
Committing Changes: Save your updates with a commit, directly on GitHub — no local setup involved.
Important Caution: Please ensure that the JSON file remains valid after your edits. Additionally, any links that point to specific files should be located within the ‘public’ folder of the project. This ensures proper functioning and accessibility of your portfolio’s resources. Remember, a valid JSON structure and correctly placed links are crucial for the seamless performance of your portfolio.
Section 4: Hosting on Netlify
Creating a Netlify Account: Sign up with Netlify for free using your GitHub account.
Connecting GitHub to Netlify: Easily link your GitHub repository to Netlify. Their free plan is perfect for getting your portfolio online.
A Step-by-Step Guide: Deploying on Netlify
👆 Here we have a detailed explanation for the setup.
Section 5: Launching Your Portfolio
Deploying the Project: With just a couple of clicks, deploy your portfolio on Netlify, completely free of charge.
Custom Domain Configuration (Optional): Netlify offers free options to add a custom domain, making your portfolio stand out.
Conclusion
You’ve done it — your portfolio is now live, and it didn’t cost you anything! Remember, this is just the start. Your portfolio can evolve as your skills and experiences grow.